How to Make a Rain Gauge
|
Equipment:
|
|
Method:
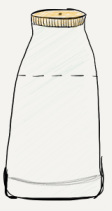
1. Remove the label. Using your marker or pen, draw a line around the neck of the milk bottle, about 10 cm down from the top. Remove milk bottle cap (Make sure you recycle this appropriately!).
2. Then, cut carefully along the line.
2. Then, cut carefully along the line.
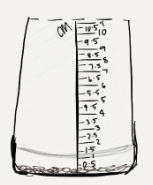
3. Using your ruler and permanent marker, draw a line from the bottom to the top.
4. Then using your ruler again, make a mark at for every half centimetre. Make the centimetre mark a little bit longer than the .5 markings. For Example: Short line for 0.5 cm, long line for 1 cm, short line for 1.5 cm, long liner for 2 cm.
5. Write the measurement next to each mark you have made.
4. Then using your ruler again, make a mark at for every half centimetre. Make the centimetre mark a little bit longer than the .5 markings. For Example: Short line for 0.5 cm, long line for 1 cm, short line for 1.5 cm, long liner for 2 cm.
5. Write the measurement next to each mark you have made.
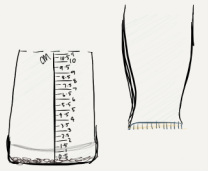
6. Put a small layer of rocks or pebbles at the bottom of the bottle. About 0.5 cm high.
7. Then get the top half of the bottle and flip it upside down.
8. While its upside down, put it into the bottom half of the bottle. This will act as a funnel for the rainfall. Join the two using tape.
7. Then get the top half of the bottle and flip it upside down.
8. While its upside down, put it into the bottom half of the bottle. This will act as a funnel for the rainfall. Join the two using tape.
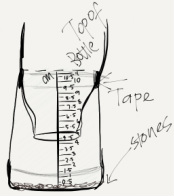
12. You now have a rain gauge to discover the amount of rainfall, made from a recycled milk carton!
13. Put your new rain gauge outside where it will collect the rain and start measuring!
13. Put your new rain gauge outside where it will collect the rain and start measuring!
